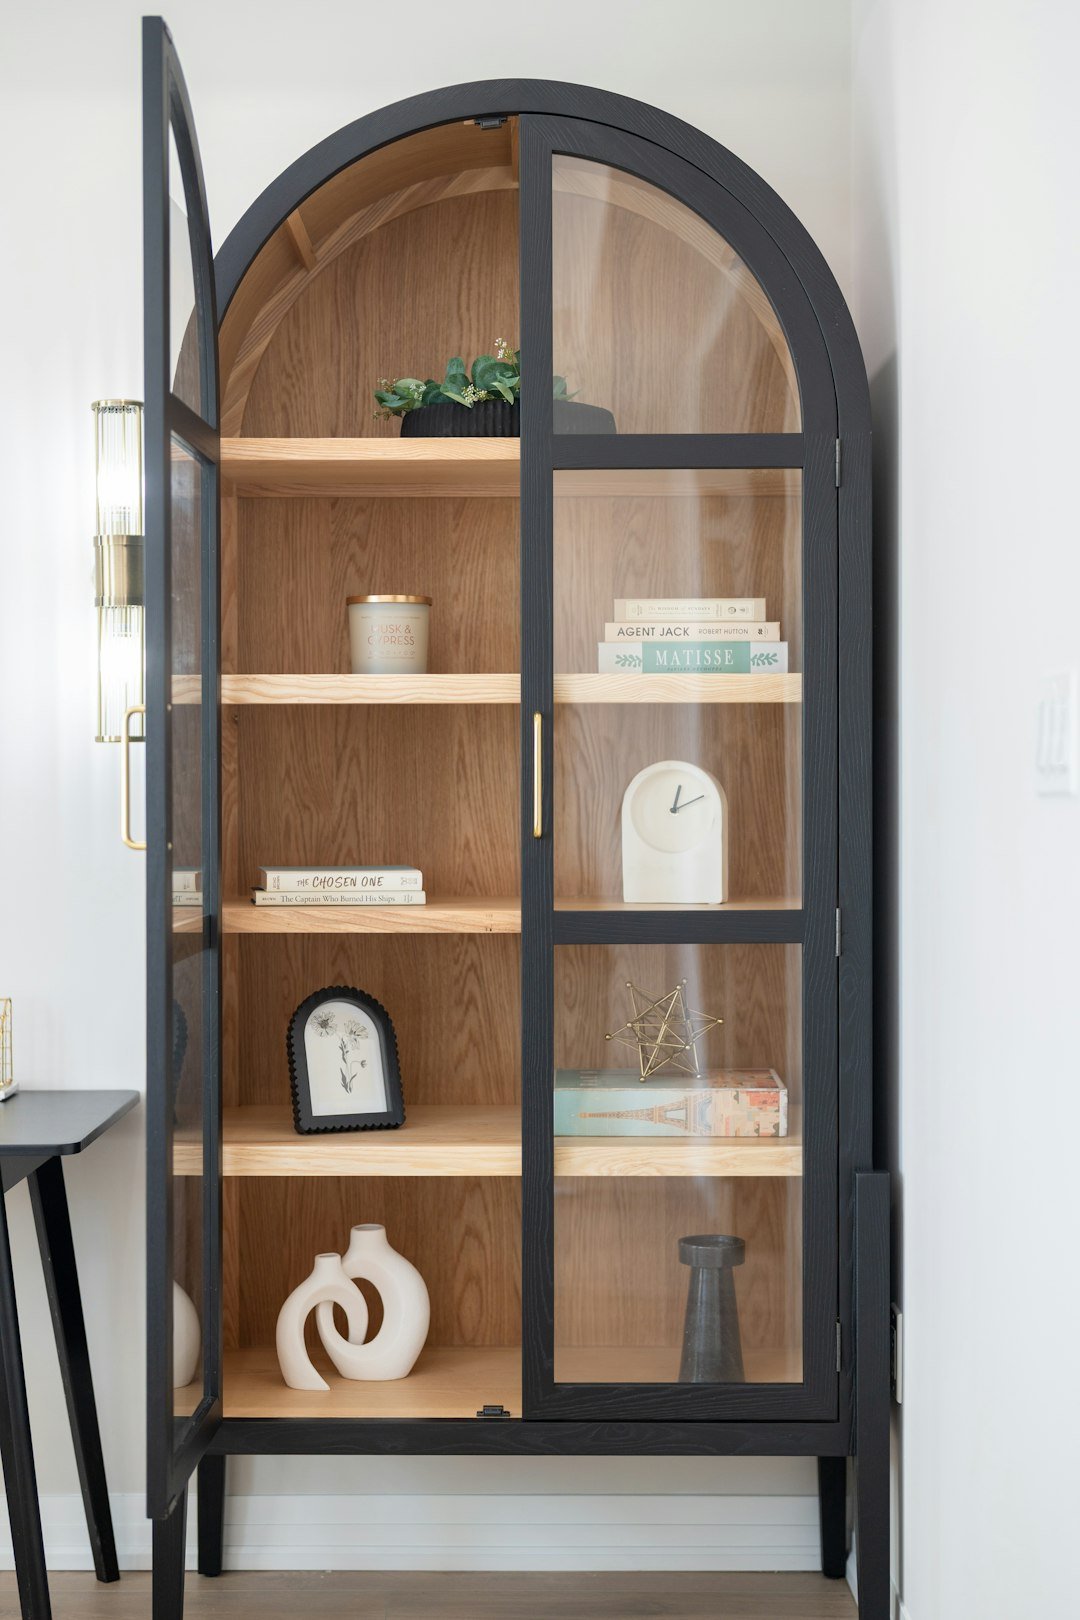
Franklin display cabinet packing requires more than wrapping the exterior. The safe approach is to review cabinet construction, remove every loose item, identify fixed and permitted removable glass panels, protect finished surfaces, and map each component before transport. Good preparation also confirms stair and door measurements and the cabinet’s display-room footprint at the destination.
When comparing packers for moving near me, describe the cabinet’s construction and access. Nashville Packers and Movers helps households in Franklin and Middle Tennessee organize detailed packing for cabinets containing adjustable shelves, mirrored backs, glass doors, lighting parts, and removable fittings. Call (615) 710-9990 or use the contact page to discuss the cabinet, access route, and packing priorities.
Review the Cabinet Before Anything Moves
Fit this task into your household packing plan. For room placement, the rug and floor-plan measurement guide covers walking lanes and furniture footprints, while our destination room-label guide helps connect component boxes with the correct room.
Begin with the cabinet itself, not the packing supplies. Display furniture varies widely: a solid-wood hutch may have pinned shelves; a retail showcase may use metal standards and brackets; a curio cabinet may combine a mirrored back, magnetic catches, and thin glass doors. Identify what is fixed, what lifts out, what slides, and what belongs to the owner’s or maker’s instructions.
Check for existing looseness, chips, scratches, cloudy glass, bowed shelf pins, and worn hardware. Take condition photographs from the front, both sides, back, top, interior, and close range. Include one image showing each adjustable shelf position and another showing cable routing or light placement. These records distinguish preexisting conditions and provide a visual reference later.
Cabinet construction review questions
- Is the back structural, decorative, mirrored, or loosely retained?
- Do shelves rest on pegs, clips, grooves, rails, or concealed supports?
- Can doors or panels be removed under the maker’s guidance without disturbing alignment?
- Are lights, cords, locks, keys, brackets, or anti-tip parts present?

Measure the Route and Destination
Record the cabinet’s height, width, and depth at its widest fixed points. Then measure doorway clearances, stair turns, landings, hall corners, elevator openings, and ceiling restrictions. Open doors fully when measuring usable passage. A nominal doorway width is less useful than the actual clear opening around trim, handles, railings, and nearby walls.
At the new display room, mark the intended footprint and confirm space for door swing, shelf access, vents, outlets, and baseboards. A cabinet that fits the wall may still be awkward if a door strikes furniture or a cord cannot reach safely. Share unusual constraints before move day rather than improvising around packed glass.
Build a Complete Contents Removal Plan
Every cabinet should be completely emptied before it is handled. Start with display objects such as porcelain figures, framed medals, crystal bowls, model cars, books, product samples, or keepsake boxes. Pack unlike items according to their own needs rather than treating the cabinet as a shipping container. Remove dust, loose liners, and forgotten drawer contents.
Create a simple sequence from top to bottom and one side to the other. Assign each shelf a clear identifier, such as Upper A or Lower Right, and repeat that identifier on the wrapped shelf, its supports, and the inventory note. This matters when adjustable shelf positions differ by only one hole or slot.
Use Cabinet Hardware Labels for Small Removable Fittings
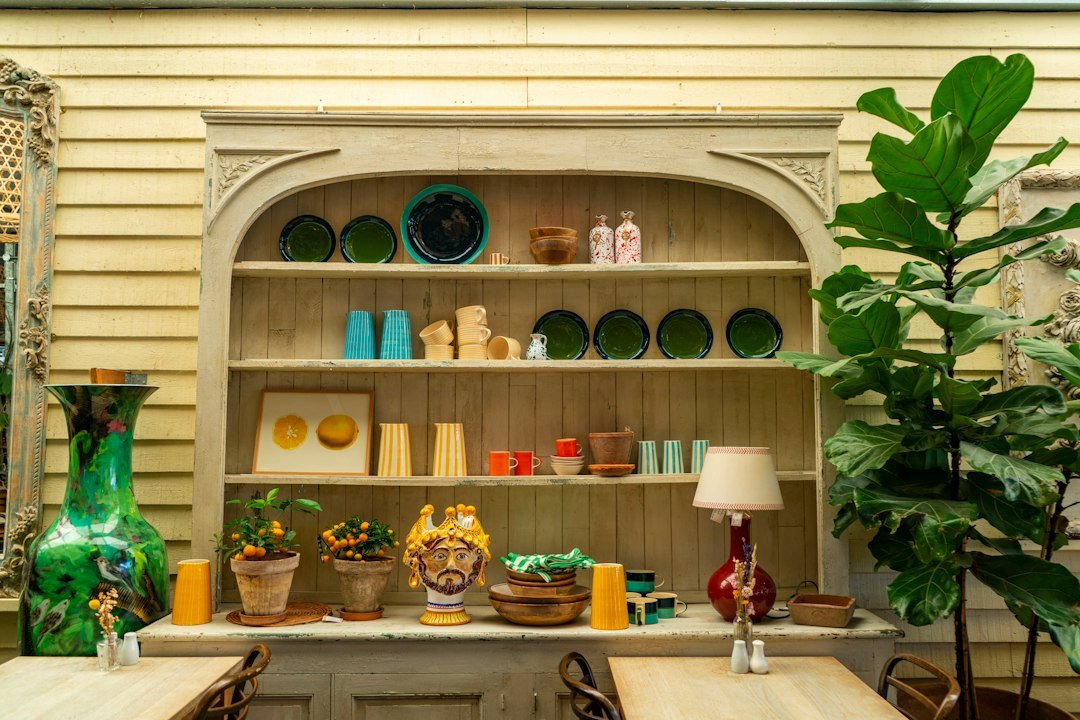
Use separate removable fitting containers for shelf pegs, door keys, magnetic catches, screws released under approved instructions, cable clips, and remote controls. Choose rigid lidded containers or sealed bags placed inside a labeled parts box. Never tape hardware directly to wood, veneer, lacquer, glass, or fabric because adhesive can mark the finish or disappear during unwrapping.
If a fitting must remain attached, document its location and protect it from pressure. Do not force unfamiliar fasteners, glued trim, locked doors, wired lighting, or structural panels. When removal is unclear, defer to the owner or manufacturer rather than experimenting with a mechanism that controls alignment or strength.
What Careful Cabinet Packing Covers
Construction and condition review
Distinguish fixed from removable elements, note vulnerable finishes, and capture condition photographs. This creates a practical baseline for packing decisions without guessing how unfamiliar cabinet parts work.
Complete contents packing
Plan to remove display pieces and group them by shelf or zone. Fragile ornaments, books, electronics, and keepsakes need distinct packing treatment instead of remaining inside the furniture.
Glass and shelf preparation
Removable glass panels, adjustable shelves, supports, and fittings should be identified as separate components. Labels connect each part to its original position and intended reassembly order.
Surface and access planning
Identify protection needs for finished faces, corners, doors, and fixed details while route measurements address stairs, doors, and turns. Destination footprint checks reduce last-minute placement conflicts.
Why a Detail-First Approach Helps
A display cabinet concentrates several risks in one object: brittle panels, polished surfaces, small hardware, and position-sensitive shelves. Detail-first packing treats those risks separately. It also gives the owner a readable record instead of an unlabeled bundle of parts.
- Documented decisions: Photographs and labels connect condition, position, and ownership of components.
- Room-aware preparation: Measurements consider real clearances and the final display-room footprint.
- Finish-conscious packing: Protection is selected around exposed wood, painted trim, metal, mirrors, and glass.
- Local coordination: Nashville Packers and Movers serves Franklin and Middle Tennessee, with direct discussion of access and cabinet details.
Ten practical cabinet-packing tips
Map shelf positions with two references
Photograph the full interior, then photograph each support close enough to show its hole or slot. Pair “Upper A, third hole” with an arrow on low-tack label placed only on safe wrapping, never directly on a finish.
Give every glass panel its own identity
Label wrapping by function, such as Left Door, Center Shelf, or Mirrored Insert, not merely Glass. Record orientation with Top and Room-Facing notes. Similar panels can vary subtly, and a specific identity prevents trial-and-error handling.
Use Suitable Separation When Packing Glass Shelves
When multiple glass shelves share a container, place protective material between them and prevent edge-to-edge contact. Keep shelf supports in the matching fitting container. Do not assume equal-looking shelves have equal thickness or load requirements.
Protect finished surfaces from trapped grit
Clean visible dust with an owner-approved method before covering the cabinet. A tiny grain trapped beneath wrap can rub against lacquer, paint, veneer, or polished metal. Put clean nonabrasive protection against the finish and keep adhesive off it.
Plan around projecting cabinet details
Notice crown molding, glass knobs, escutcheons, feet, hinges, and lighting switches that extend beyond the main body. Mark these pressure-sensitive zones on the packing plan. Padding should guard them without turning delicate trim into a lifting point.
Use a no-loose-parts check
Before final covering, gently verify that no peg, key, clip, remote, liner, or ornament remains inside. Listen for movement only without shaking the cabinet. Then compare the empty interior against the contents list and fitting containers.
Reserve a clearly labeled components box
Keep shelf pins, keys, approved removable brackets, cords, and cabinet-specific paperwork together in one small box labeled with the cabinet’s room and identifier. Do not bury it among general decor. Reassembly stalls when one essential clip is inaccessible.
Sequence protection for the actual route
A narrow stair turn may expose a different cabinet face than a straight hallway. Review the route photographs and measurements before final wrapping, then emphasize corner and surface protection where clearances are tightest. Never let padding conceal safe handholds.
Keep destination placement information visible
Mark the destination room and intended wall on the outer label, together with access notes such as “doors face window” or “outlet behind right side.” Visible placement information avoids opening protected components merely to determine orientation.
Reconcile components before reassembly
At delivery, compare the parts box, wrapped panels, shelf labels, and photographs before anything is returned to the cabinet. Confirm the final location first. Follow owner or manufacturer directions for reassembly, especially for lighting, locks, anchoring, and load limits.
Edge Cases That Deserve Extra Planning
A mirrored back may be fixed even when it appears removable. Treat uncertainty as a stop signal, not an invitation to pry. Likewise, curved glass, leaded glass, sliding tracks, and integrated lighting can change the packing sequence. Ask the owner for available product information and defer technical decisions to the maker.
For cabinets on upper floors or behind tight stair turns, measurements should include the packed profile, not only bare furniture dimensions. For mixed-use cabinets, separate valuable collectibles from ordinary contents on the inventory. If a panel has an existing crack or loose retainer, document it and discuss the handling plan before packing proceeds.
Plan Anchorage Before Reloading the Cabinet
At the new home, treat required anti-tip protection as part of setup rather than an optional finishing touch. The Consumer Product Safety Commission’s Anchor It guidance explains the danger of furniture tip-overs. Follow the cabinet manufacturer’s instructions for anchoring and use hardware appropriate to the actual wall construction. Confirm who will do that work before delivery. Do not assume ordinary moving service includes wall installation, or begin loading display pieces while a required safety step remains unfinished.
Example Component Record
| Code | Component | Reference | Delivery check |
|---|---|---|---|
| C1-S1 | Upper removable shelf | Photo of position and supports | Match label before unwrapping |
| C1-H1 | Approved removable fittings | Count recorded in parts box | Account for each fitting |
| C1-D | Display objects | Separate contents inventory | Keep protected until cabinet is ready |
These codes are examples only. Use the same code on the outer protection, private inventory and corresponding parts container. That makes the record useful even when someone else receives the shipment.
FAQ: Franklin Display Cabinet Packing
Should a display cabinet stay full during a move?
No. Complete contents removal prevents objects from shifting into glass, doors, shelves, or finished interiors. Pack each display item according to its own fragility and record its cabinet zone.
Do all glass shelves need removal?
Not automatically. Removal depends on cabinet construction, shelf retention, access, and maker guidance. Fixed glass should never be forced. Any removable shelf needs a position label and protected separation.
What condition photographs are useful?
Capture full views, corners, finished surfaces, glass edges, hardware, interior supports, lighting, and existing damage. Include shelf positions and close details that remain readable after components are wrapped.
How are adjustable shelf positions preserved?
Assign each shelf an identifier and record the exact hole, slot, rail, or bracket position. Match that code on the shelf wrapping, support container, and photograph log.
Where should removable fittings go?
Place pegs, keys, clips, approved removable brackets, and controls in sealed, rigid, labeled containers inside one cabinet-specific components box. Keep adhesive away from every finished surface.
Why measure stairs and doors early?
Actual clearances reveal trim, railings, turns, handles, and landings that basic room dimensions miss. Early measurements allow packing and route discussions before fragile parts are committed.
What is a display-room footprint?
It is the cabinet’s planned floor and wall area at the destination, including practical clearance for doors, drawers, outlets, vents, and nearby furniture. It confirms usable placement, not mere fit.
Can hardware be taped inside the cabinet?
Direct taping is risky because adhesive can mark finishes and hardware can come loose. Use labeled fitting containers and place those within the dedicated components box instead.
When should reassembly begin?
Begin only after the cabinet reaches its confirmed location and all panels, shelves, supports, fittings, and records are reconciled. Use owner or manufacturer instructions for technical steps.
Who serves Franklin and Middle Tennessee?
Nashville Packers and Movers discusses cabinet-specific packing needs with Franklin and Middle Tennessee customers. Call (615) 710-9990 or send cabinet details through the verified contact page.
Complete Your Display Cabinet Moving Preparation
Successful Franklin cabinet packing connects construction review, complete contents removal, glass separation, fitting control, surface protection, access measurements, and destination placement. For broader preparation, review how to pack for a move in Nashville. If room assignments are changing, the Thompson’s Station guide to packing room labels and new floor plans offers a useful labeling model.
Discuss Your Franklin Display Cabinet
Share the cabinet’s dimensions, materials, removable parts, glass features, stair or doorway constraints, and destination room with Nashville Packers and Movers. A focused conversation can identify packing priorities, owner questions, and component records before moving day. Call (615) 710-9990 to discuss the requested date and scope with Middle Tennessee packers.