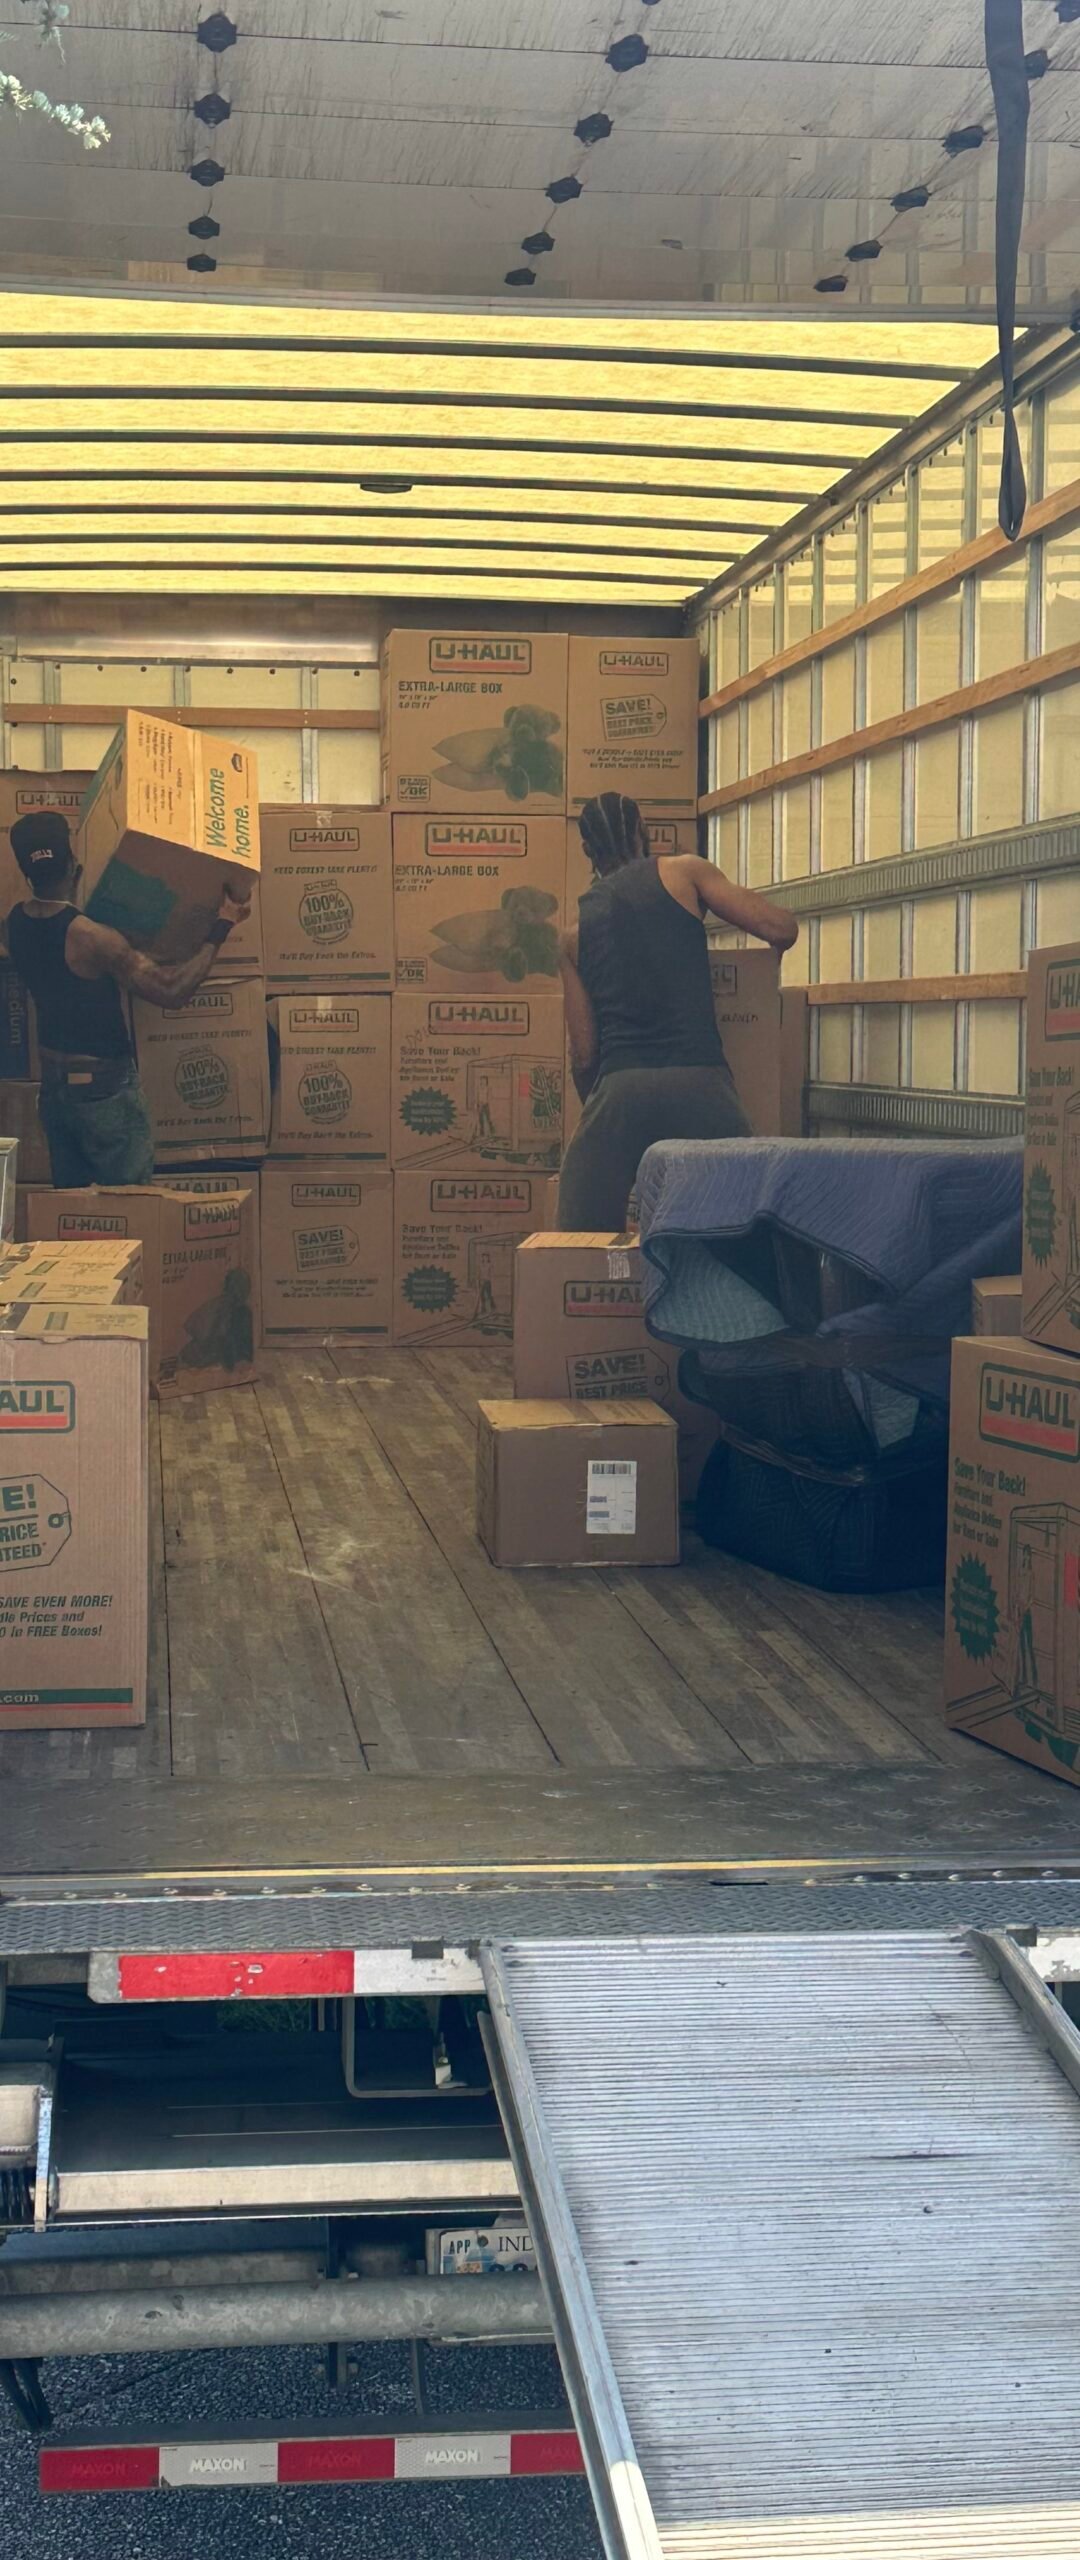
Existing crew photograph illustrating organized carton loading.
The Direct Answer: Label for the Destination, Not the Origin
When a home has a different layout, label every carton with the room where it will be placed at the new address, not merely where it was packed. Create short destination room labels, map each code to one unique room name, and post matching signs at doors, stairs, and unloading decision points. Include the floor, room code, brief contents, and handling note on at least two visible sides of each box. This simple system helps residents, packers, and movers make the same placement decision without stopping to interpret “bedroom” or “upstairs.” For Thompsons Station packing, the plan should be agreed upon before the first carton is sealed and updated whenever the destination assignment changes.
Why Old Room Names Fail in a New Layout
Origin labels work only when both homes have parallel spaces. A box marked “guest room” becomes ambiguous if the new home uses that space as an office, while “hall closet” gives no clue when the destination has several closets. Ambiguity causes boxes to collect near the entrance, travel to the wrong floor, or require repeated questions during unloading.
Temporary names solve the problem. Name rooms by destination function and position: Primary Bedroom, Bedroom A, Bedroom B, Front Office, Rear Flex Room, or Upstairs Landing. Avoid names tied to a person when assignments may change. If “Maya’s Room” might become the rear bedroom instead of the front bedroom, use a stable code first and add the person’s name as a removable note.
Build a Room Name Mapping Table Before Packing
Walk through the new floor plan with everyone who makes placement decisions. Assign each destination a plain-language name and compact code. Then keep one master table on paper and on a shared phone so changes reach the packing and unloading teams.
Codes should remain short, distinct, and readable from several steps away. Do not pair easy-to-confuse codes such as B1 and BI. If two rooms share a name, add floor and position. The mapping table is the translation key; moving box labels are the routing instructions.
Ten Practical Tips for a Destination-First Labeling System
1. Freeze the Map Before Boxes Multiply
Confirm room names before room-by-room packing begins. Print or write the master map, then give one person authority to approve edits. When a room changes, update the map, door sign, and affected cartons together; never rely on a verbal change that only part of the crew heard.
2. Encode the Floor Explicitly
Use M for main, U for upper, and L for lower only if those letters fit your map. Write “Floor 2” beside U2 for immediate clarity. Large floor identifiers prevent a correct room code from being carried up or down the wrong staircase.
3. Put Labels on Two Adjacent Sides
Place one label on the top and another on a side near the upper corner. A stacked carton may hide its top, while a dolly may hide one face. Duplicate placement keeps the route visible without turning or lifting the box.
4. Separate Routing from Contents and Handling
Use a consistent order: large room code, full destination name, short contents, then handling note. Example: “U2 — Rear Bedroom — books — heavy.” Keep “fragile,” “open first,” and orientation arrows visually separate so they cannot be mistaken for room assignments.
5. Post Signs Where Decisions Happen
Place matching room signs outside each destination and add directional signs at the entry, stair split, and upper landing. Signs should face the normal walking path. A closed bedroom door still needs its code visible, especially when several rooms open from one hallway.
6. Use Removable Notes for Unsettled Assignments
Keep the permanent code tied to the physical room, then add a removable person or purpose note. For example, U1 remains U1 even if its note changes from “Sam” to “Office.” This preserves the route while allowing the household plan to evolve.
7. Mark Sets and Priority Without Replacing the Room
Number connected cartons as “1 of 3,” “2 of 3,” and “3 of 3.” Add “open first” to bedding, chargers, or essential work equipment, but retain the destination code. For bedroom setup planning, see the guide to bedding-first first-night organization.
8. Add Detail for Small-Part Boxes
Toy pieces, hardware, cables, and accessories may share a room but serve different items. Add the item or set name beneath the route, and keep tiny components contained before labeling. The children’s toys and small-parts guide offers focused packing ideas for grouped pieces.
9. Audit Labels Before Loading
At the staging area, check every carton for a valid code, readable destination, visible floor, and useful exception note. Correct old names rather than crossing them out repeatedly. If a box contains items for several rooms, split it or label it “sort zone” with approval.
10. Brief Everyone and Keep One Decision Maker
Before unloading, review the map, signs, exceptions, and change process with household members and the moving team. Direct questions to one designated person. This prevents two residents from sending identical labels to different rooms and keeps traffic moving safely.
Who Does What: Scope and Duties
A labeling plan works when responsibilities are explicit. Whether you pack independently or work with Middle Tennessee packers, agree on the following roles before materials are marked.
- Household decision maker: Names destination rooms, approves the code map, resolves mixed-room items, and communicates assignment changes.
- Packing lead: Applies the agreed moving box labels, checks legibility and placement, and flags cartons lacking a clear destination.
- Unloading lead: Reviews the map before work begins, follows posted routing signs, and pauses only for genuine exceptions.
- Residents or helpers: Avoid renaming rooms midstream, keep signs visible, and direct questions to the decision maker instead of improvising.
Professional packing scope should be confirmed in advance. Ask who supplies labels, who creates the room map, whether cartons receive two labels, and who posts destination signs. Packers can apply a system accurately, but the household must provide final room assignments and access decisions. Searching for “packers for moving near me” is only a starting point; the useful conversation is about responsibilities, exceptions, and handoff.
Handle Changes, Mixed Rooms, and Other Edge Cases
- Late room swap: Keep physical room codes fixed. Change the map and removable purpose notes, then relabel affected boxes. Never redefine U1 to mean U2.
- One box, two destinations: Prefer separating contents. If that is impractical, send the carton to a named sorting area and list both destinations clearly.
- Duplicate room names: Add floor, position, or a stable code. “Bedroom 2” alone is weaker than “U2 Rear Bedroom,” especially when plans number rooms differently.
- Storage without a final home: Use a defined holding zone, not “miscellaneous.” Limit that designation so it does not become the default for undecided cartons.
- Furniture parts and hardware: Label the parts bag with the furniture name and destination code, then keep it attached or in a documented hardware box.
If access changes because a room is unavailable, choose a temporary receiving zone and record that exception on the master map. Do not cover safety notices, manufacturer markings, or carton seams with labels.
A Quick Destination Label Workflow
- Obtain the destination floor plan and list every receiving room or zone.
- Assign one unmistakable code and temporary functional name to each space.
- Create the master mapping table and distribute the current version.
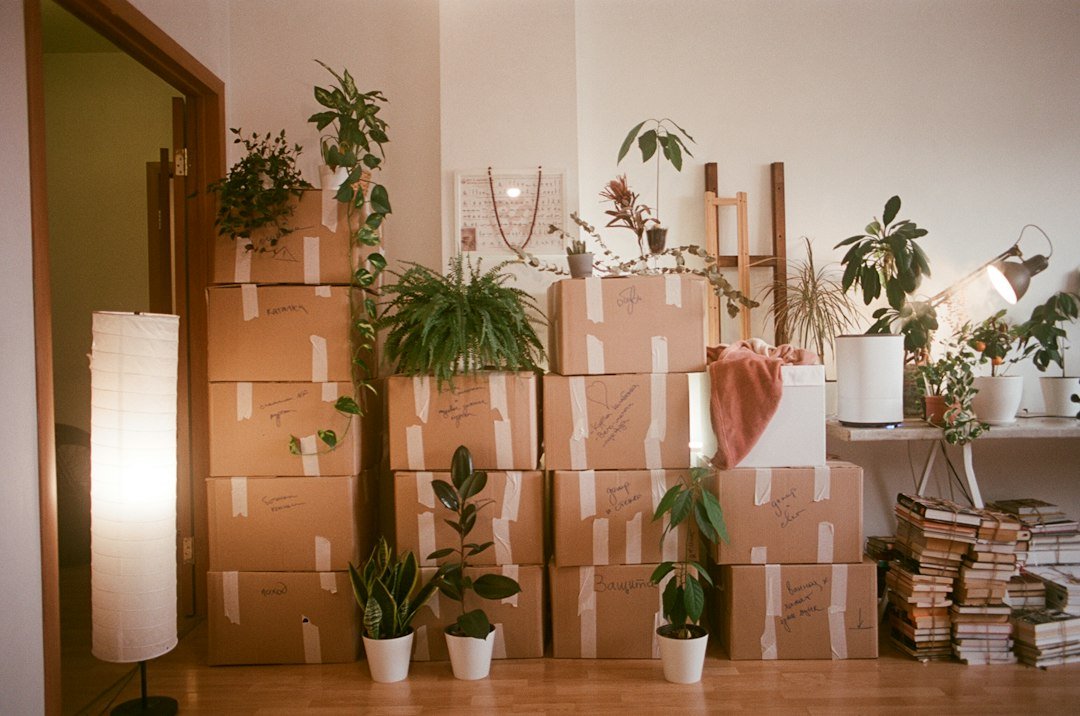
- Mark every carton on two sides with floor, code, room, contents, and exceptions.
- Post matching signs along the unloading route and outside rooms.
- Audit staged boxes, brief the team, and route questions through one decision maker.
Test the system with one carton: cover either label, approach from the entry, and ask whether a person unfamiliar with the home can identify the floor and room immediately. If not, enlarge or clarify the routing information before loading.

Keep signs and staged cartons from obstructing doors or escape routes. The U.S. Fire Administration home-fire safety guidance emphasizes keeping exits clear. A destination-label system should help people navigate the home without covering safety notices or turning a hallway into storage.
Frequently Asked Questions
Should labels describe the old room or new room?
Use the new room as the primary route. Add the origin only when it helps identify contents, and keep it visually secondary.
What belongs on each box label?
Include destination floor, room code, full room name, short contents, and any handling or priority note. Repeat the route on two sides.
Are colors enough to identify rooms?
No. Color can reinforce a code, but text remains essential for color-vision differences, poor lighting, damaged stickers, and unavailable matching tape.
How should multiple floors appear on labels?
Write the floor in plain language and pair it with the room code. “Floor 2 | U2 | Rear Bedroom” is clearer than U2 alone.
What if room assignments change after packing?
Keep physical codes stable, revise the master map, replace door notes, and relabel affected cartons. Date the revised map if older copies may remain.
Can I use family names for bedrooms?
Yes, as secondary removable notes. A stable location code and position-based name should remain primary when occupants or plans could change.
Where should labels be placed?
Use the top and one adjacent side, away from seams and closure tape. Keep routing text visible when cartons are stacked or dollied.
Who creates the destination map?
The household decision maker should approve it. A packing lead may format or apply it, but final use of each room belongs to the household.
What happens to boxes with no decided room?
Send them to one named holding zone, record that rule on the map, and limit exceptions. Avoid vague labels such as “somewhere upstairs.”
Can professional packers use my existing code system?
Usually, a clearly explained system can be followed, but scope should be confirmed beforehand. Share the map, label format, placement rule, and change authority.
Make the New Floor Plan Easy to Follow
A useful labeling system turns a different floor plan into a set of simple, repeatable directions. Choose stable room codes, identify floors plainly, map temporary names, label two carton faces, and place matching signs wherever routes divide. Keep one person responsible for changes and one current mapping table available to everyone. The goal is not a decorative label; it is a shared answer that remains clear from packing table to final room. Before packing starts, walk the plan once more and resolve every duplicate name, undecided space, and mixed-room carton.
Plan Your Thompsons Station Packing Labels With Us
Nashville Packers and Movers serves Middle Tennessee suburbs and can discuss a destination-first labeling scope for your move. Bring your new floor plan, proposed room names, floor assignments, and known exceptions to the conversation. We can clarify who prepares the map, applies labels, checks cartons, and communicates changes. Call 615-710-9990 or contact the team online to explain your layout and request a packing conversation focused on accurate destination placement. Prepare your room map first, then use it as the agenda for planning.